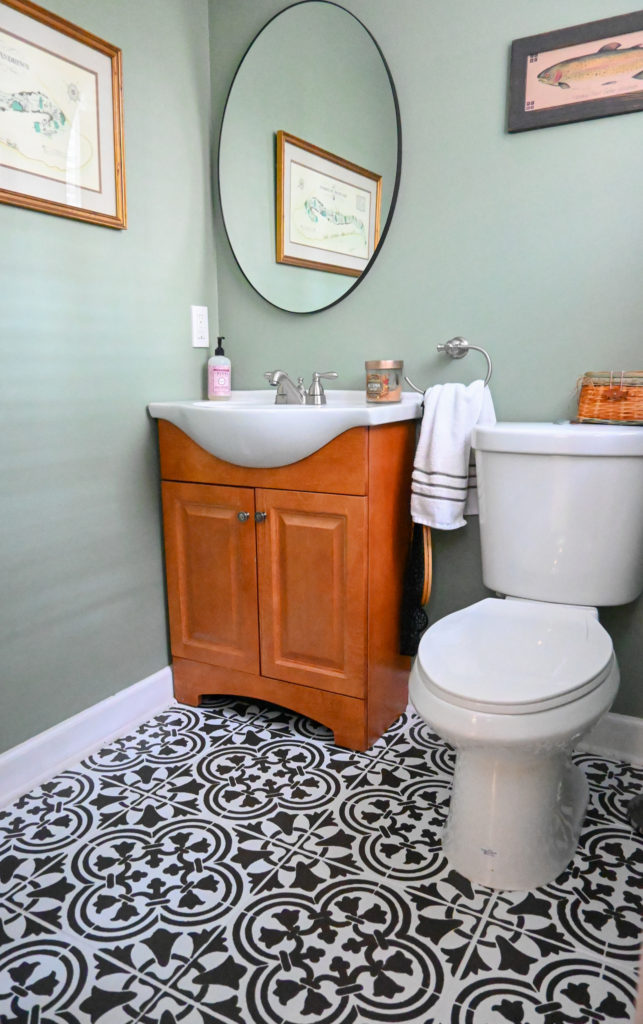
It’s been a minute since I’ve shared any home projects. Today I’m sharing one of our most recent projects – a makeover of our half bath in the basement!
Let me say that I’ve never loved this bathroom. I’ve always thought it was too brown and that the tile was just ugly. But, I’ve never really had an idea of how to fix it without a total makeover, new tile floors and all. I’m a big fan of Shannon, aka Pop of Pippi, and she shared how she painted her tile floor and I was obsessed with how it turned out. Check it out here! Needless to say, I told Taylor this was “my” next project!
The Before:
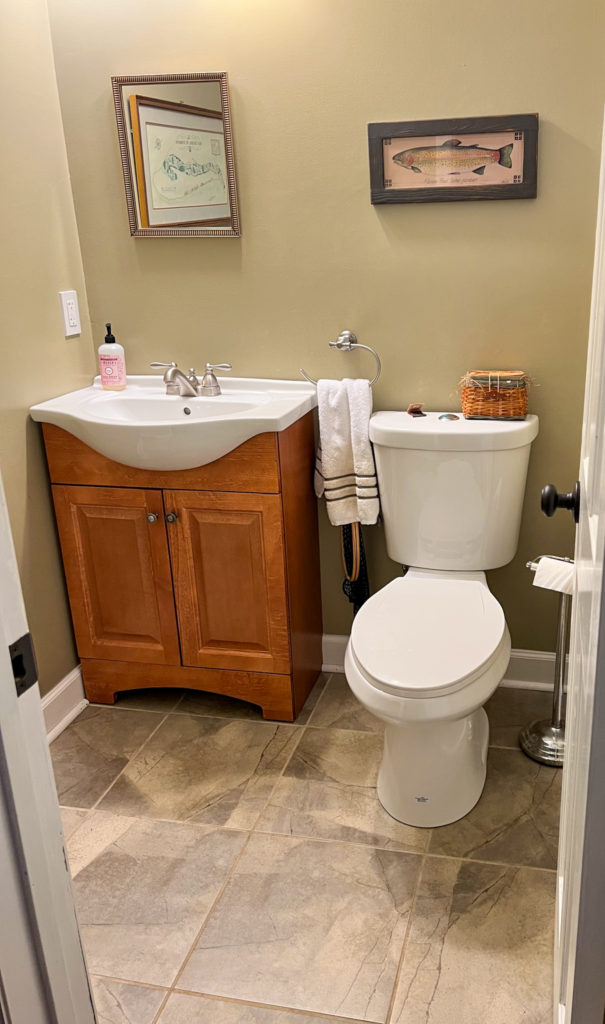
The Details
Before I could get started on the floor, I taped off the entire room because I knew I not only wanted to paint the tile, but I also wanted to paint the walls to get rid of the ugly color! Taylor moved the vanity out for me so the floor could be painted underneath and he also took off the back of the toilet so that the wall could be painted.
Beware: This project is not for the faint of heart (or those with bad knees)!
Step 1 – Priming
To begin, I swept and mopped the floor to make sure it was a clean surface to start priming. I used the Zinsser Primer and applied three coats. You will definitely need at least two coats of primer. I played it safe and went for three. Be sure the floor is completely dry before painting the next coat. I used a roller with 3/8″ nap to apply the primer to the tile and an angled brush to get the grout covered.
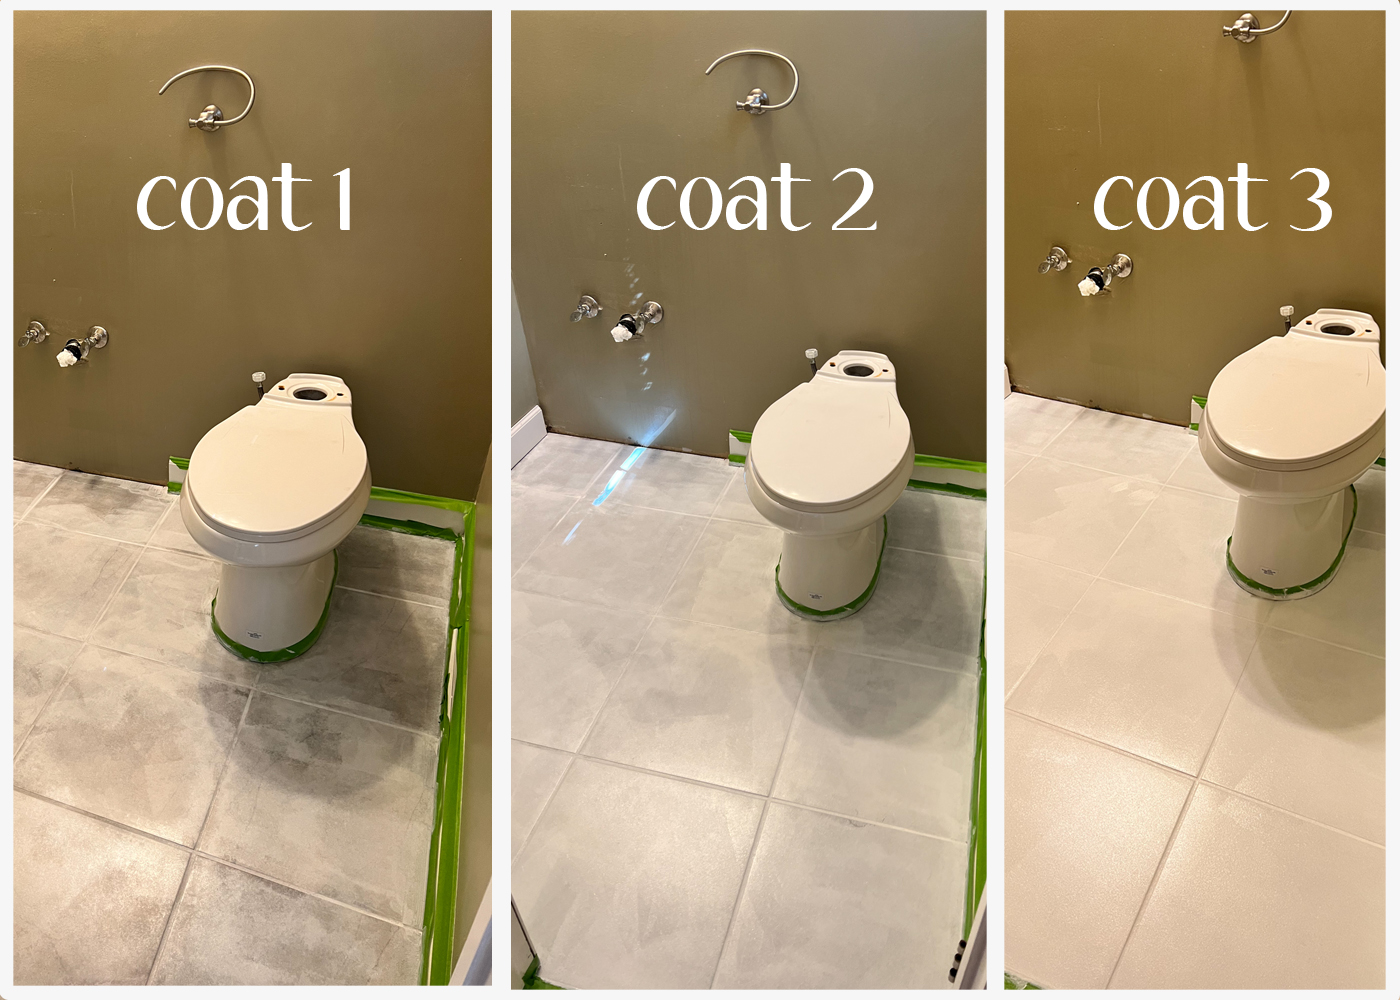
Hint: click each item to shop!
Step 2 – Base Paint
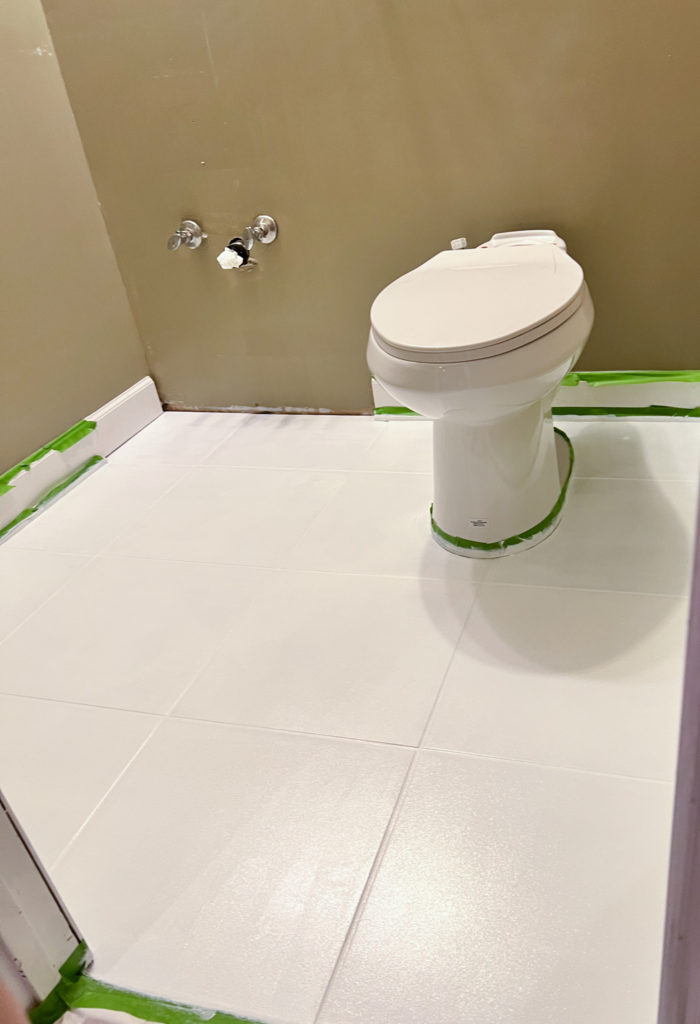
After the primer was completely dry it was time for the base paint. A lot of blogs and tutorials, as well as the paint specialist, recommend porch and floor paint for its durability. I bought one gallon of Valspar tinted “ultra white.” Once again, I did three coats for the base paint and by this point I knew this makeover was going to be worth it! It was really starting to brighten up the room. I used the same brushes for the base paint as I did for the primer.
Step 3 – Stenciling
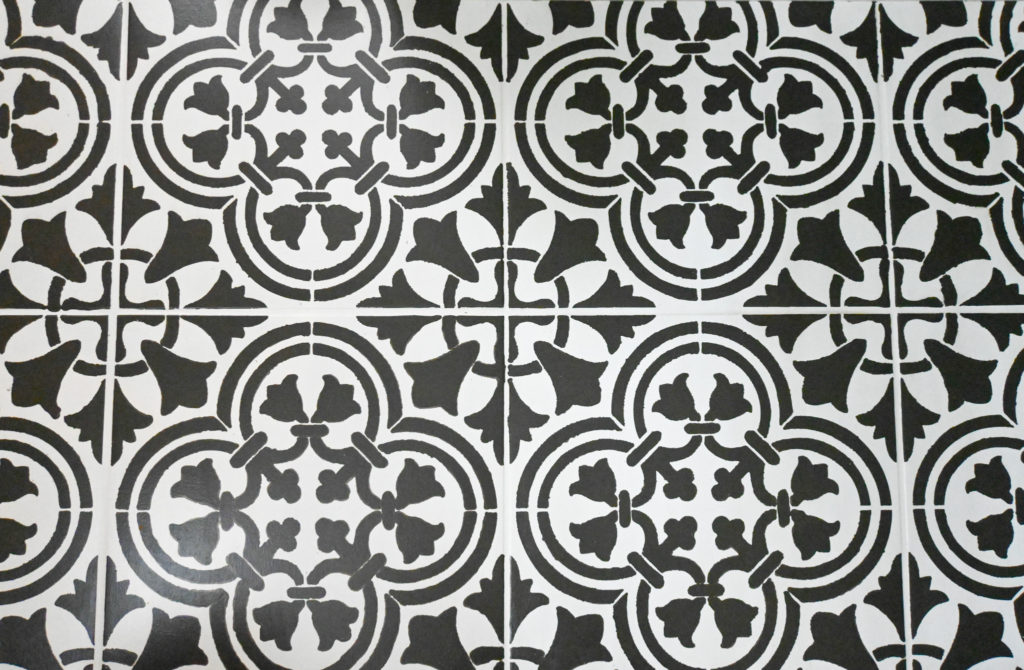
Oh. My. Goodness. This was tough! When I finally decided on the stencil pattern (Augusta), I had to place a custom order through Cutting Edge Stencils because our tile was not a normal size. Of course, this also meant that only THREE of the tiles in the whole bathroom were full size. Out of the 16 tiles, the stencil had to be cut smaller and to shape for 13 of them! This is how the room quickly turned in to “our” project LOL. I also ordered three stencils and we used every bit of those.
For the stencil paint, I struggled with what quality to use. After doing some research and talking to the paint specialists, I chose to go with a basic quart size sample paint. I knew a top coat would be painted on at the end for protection, so in the end it didn’t make a difference what quality the stencil paint was. The color is Sherwin Williams Black Fox.

To paint the stencil, I alternated between a roller and a sponge brush. Once the stencil was lightly taped (Taylor’s job), I rolled on the paint and then filled in any light spots by dabbing with the sponge brush. You want to be sure to use less paint on the roller so that it doesn’t bleed through the stencil on to the floor. Because of the size of the room and the stencil needing to be cut after each (also Taylor’s job 😉 ), we had to wait about an hour between each tile to paint the next. Overall, I think we spent three evenings on the stenciling alone.
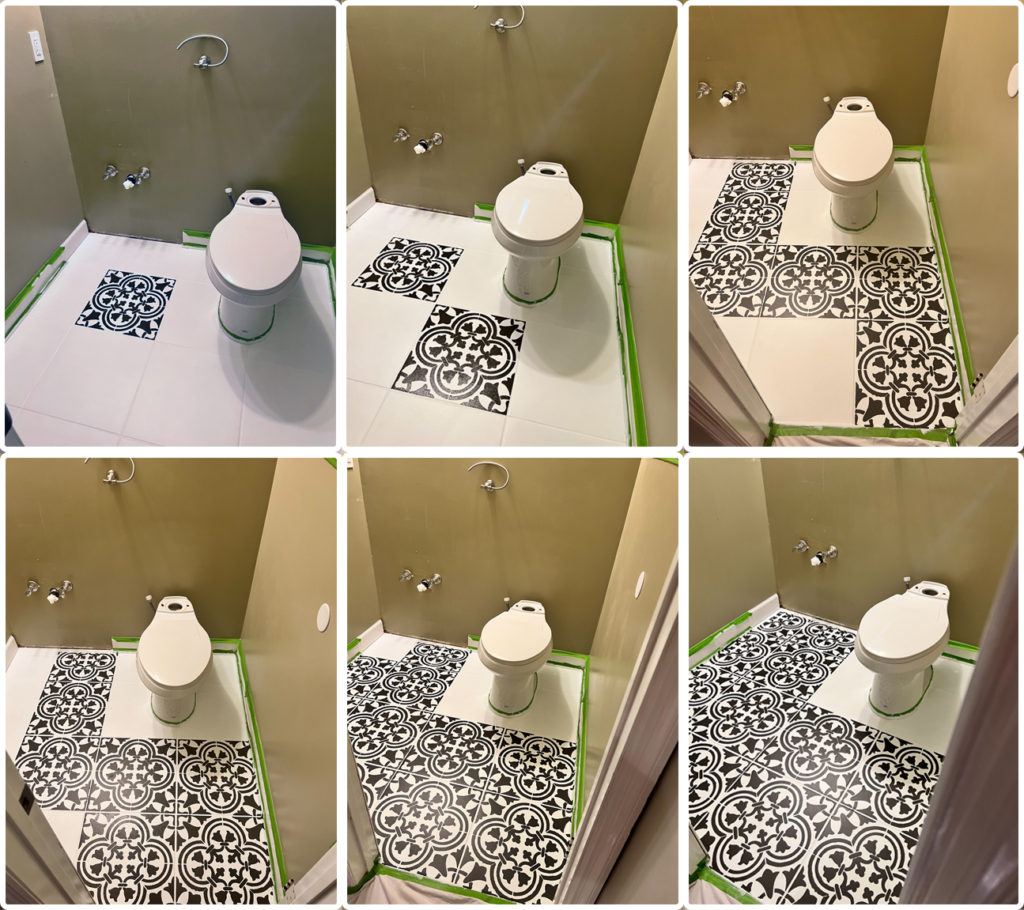
Step 4 – Top Coat
We were in the home stretch now and boy did this feel good! We waited a full day to be sure the stencil paint was dry to do the first top coat. Before painting, I once again wiped down the floor to get rid of any dirt, etc. I used the quart size Polycrylic Protective Finish and followed the directions on the can. To apply the top coat, I used a wide paint brush and it went on pretty quickly. Taylor sanded the floor lightly between each top coat – I was too afraid to mess it up! Three top coats later (the magic number) and 10 coats total, including the stencil, and the floor was finally FINISHED!
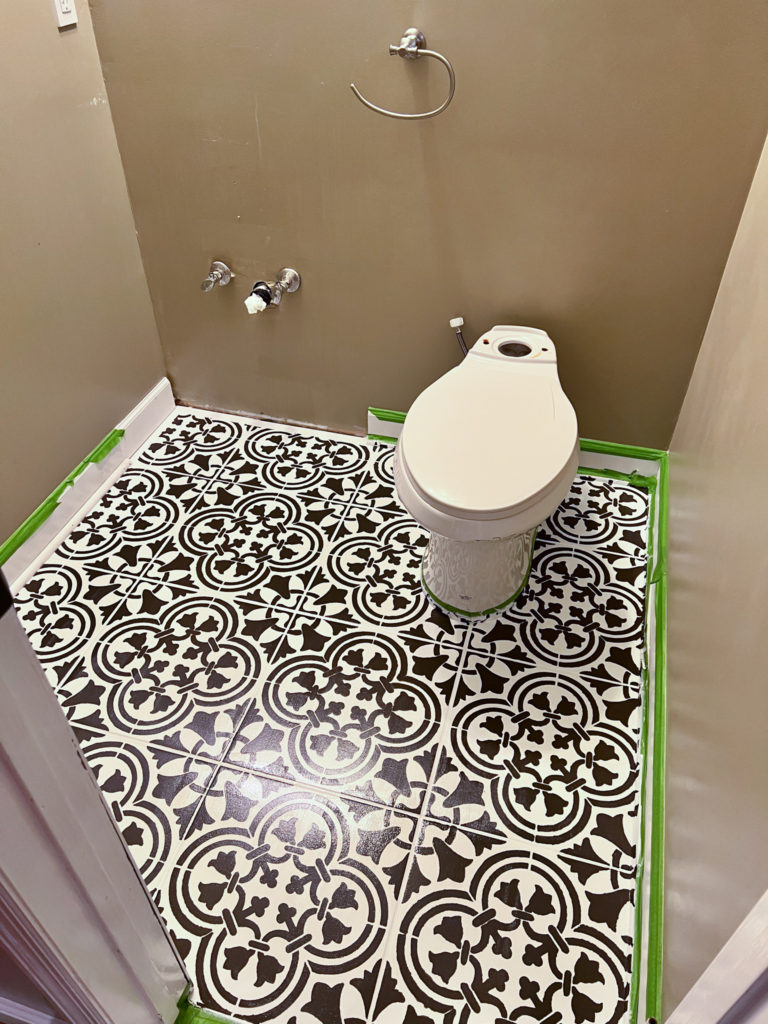
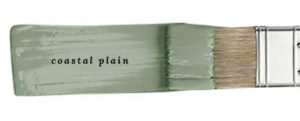
Painting the walls was easy compared to all of the floor work! The hardest part was choosing the color. I initially wanted a cream or white, but once the floor was done, we decided on a green and went with Sherwin Williams Coastal Plain.
We absolutely love, love, LOVE how this bathroom turned out! Would we do it again in another room? Probably not, but we are SO happy with the end result. We considered changing or painting the vanity, but liked the wood contrast with the color. All in, I think the project was around $200, including the mirror. You can’t beat that for a complete transformation!

Stay tuned to see what wild hair we get for the next house project!

Shop the mirror below:
Tags : DIY, home improvement, home interior, home makeover

