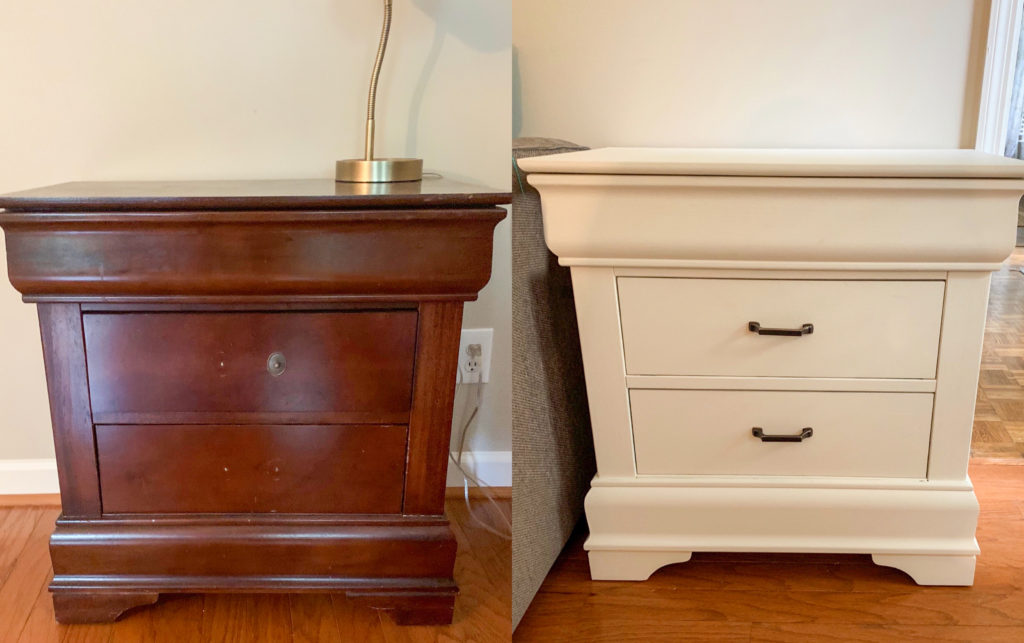
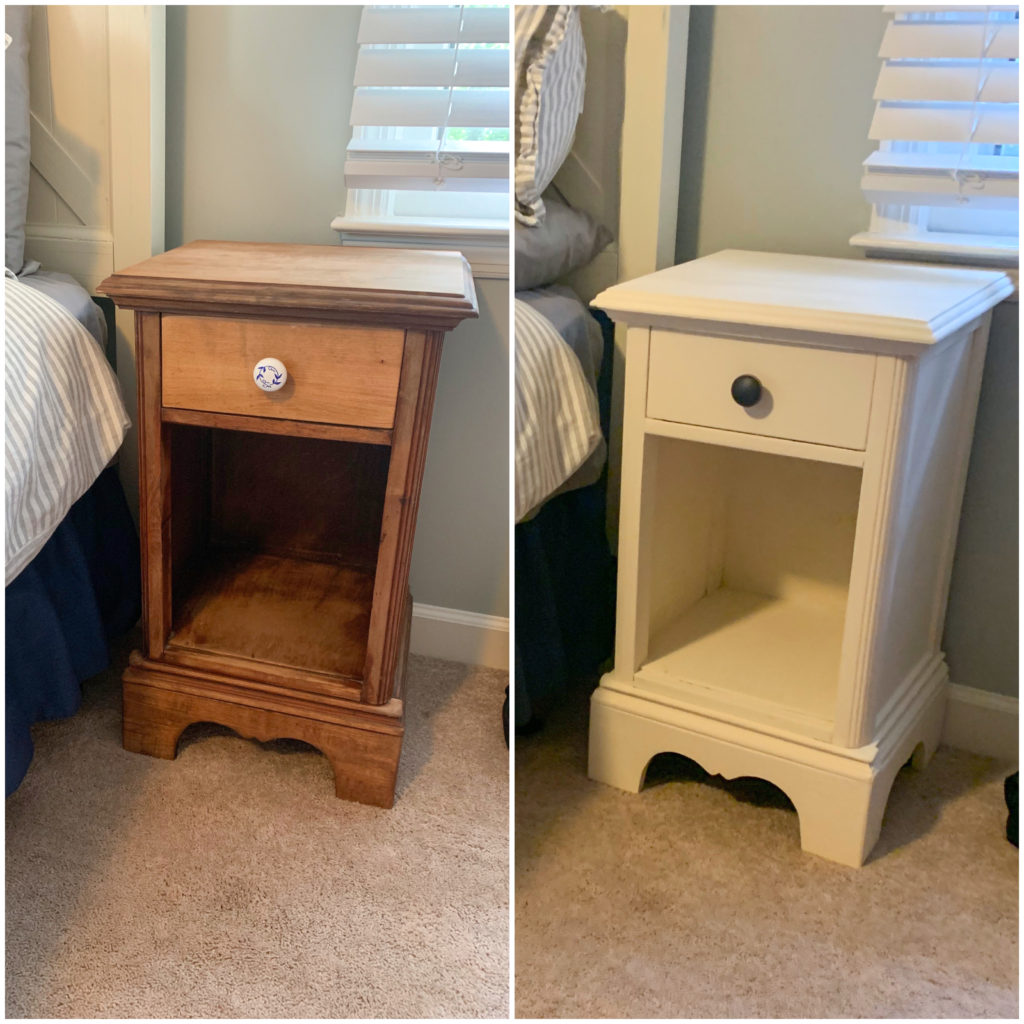
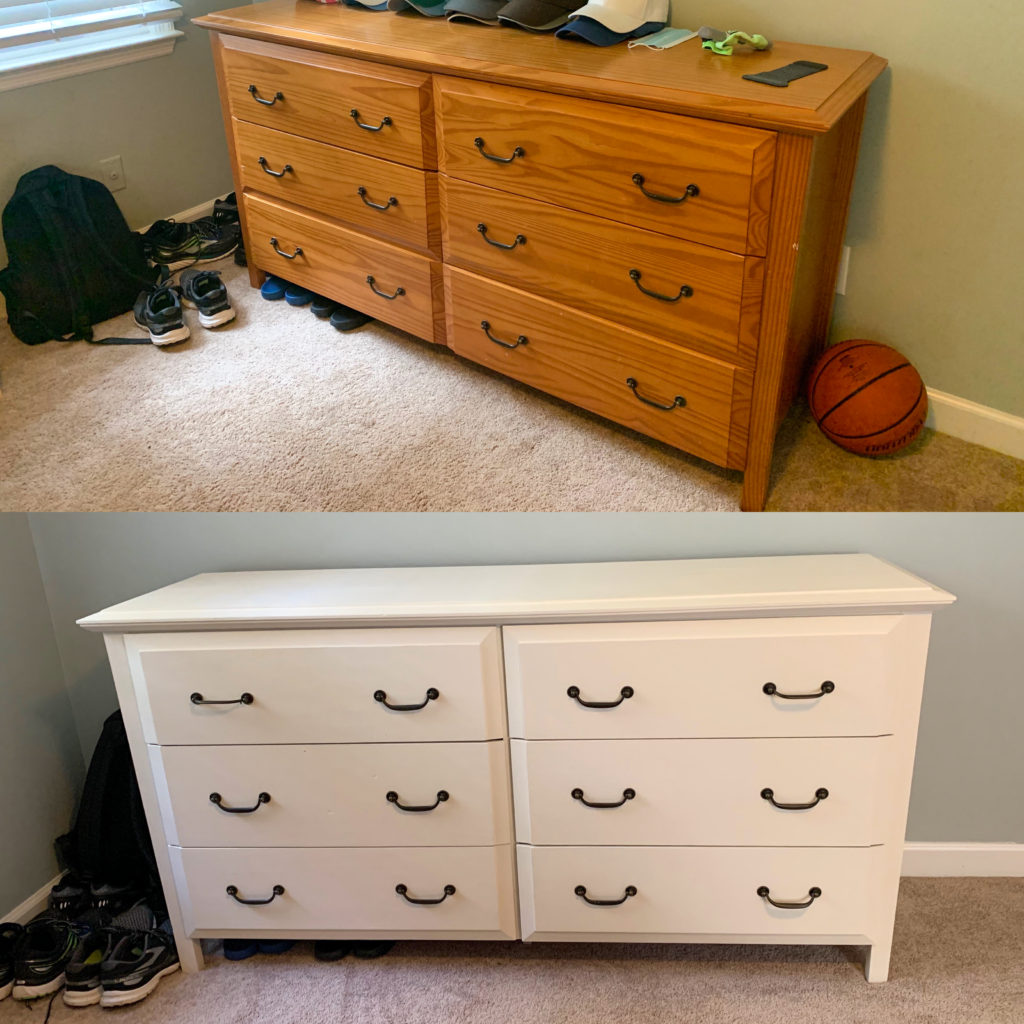
If you need a quick makeover for a piece of furniture, look no further than chalk paint!
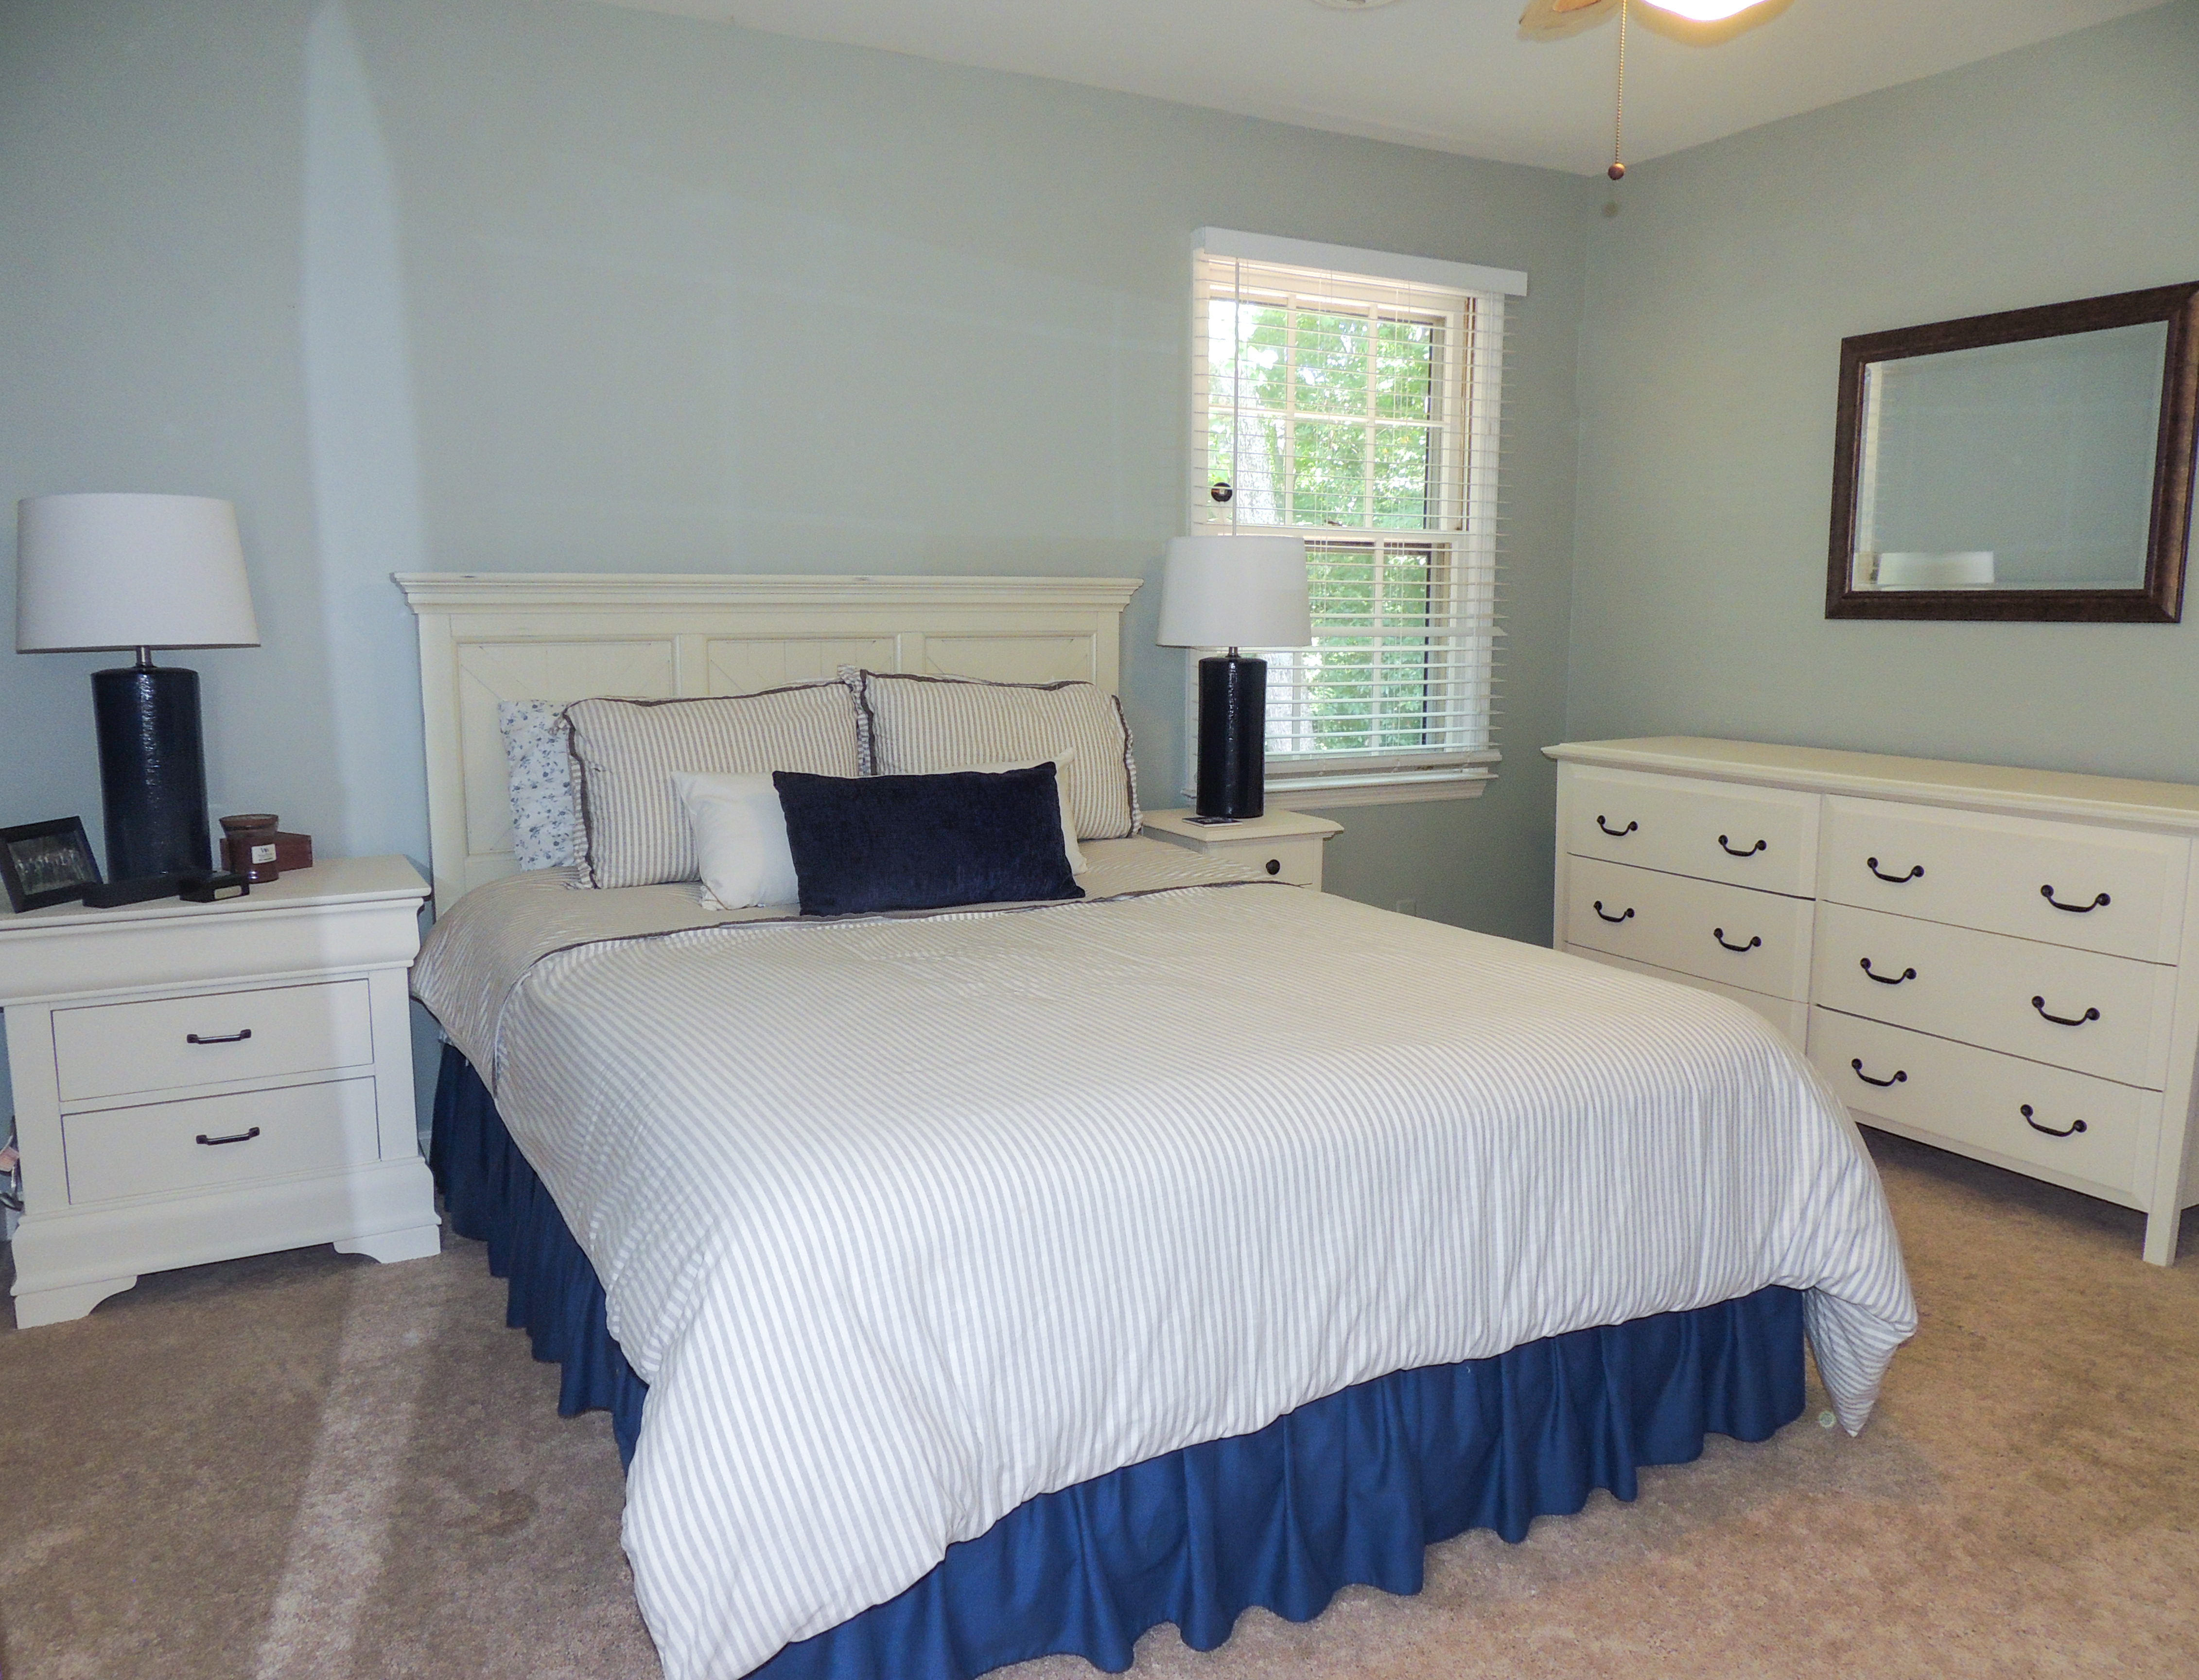
When we moved in to our house, the previous owners left a few pieces of mismatched furniture. Last fall, I finally decided to do something with those pieces. I had never done a project with chalk paint before, but it was SO easy and done in one afternoon!
The Materials
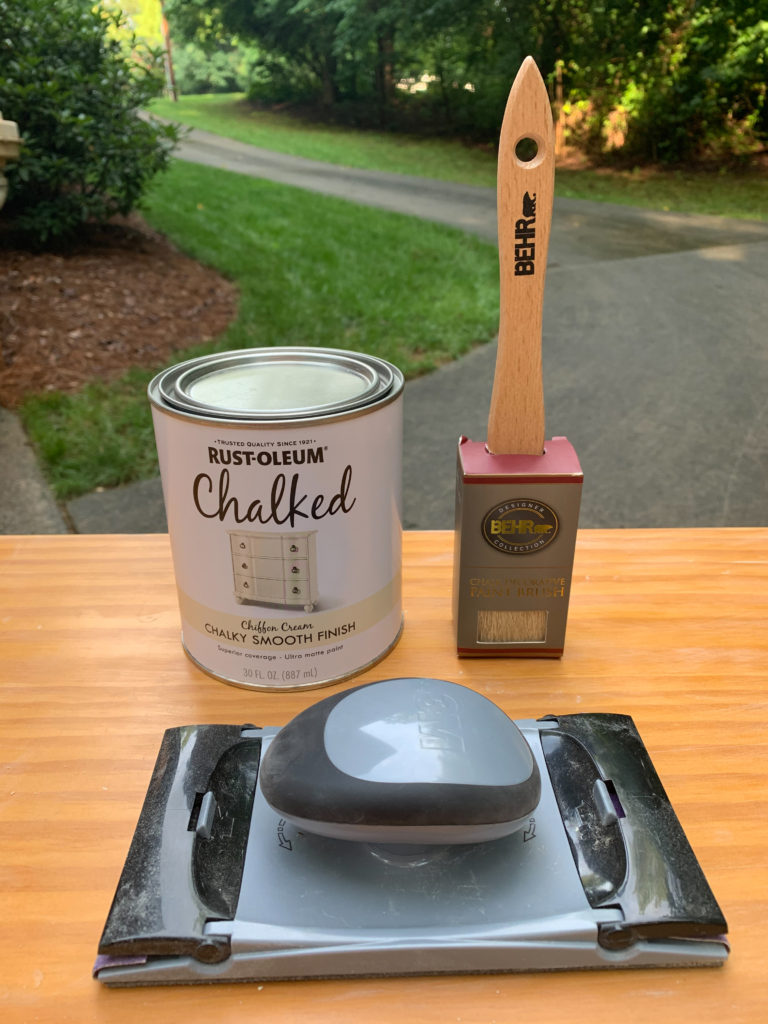
I did some research and since this was my first time using chalk paint, I decided to go with a less expensive version. I read a lot of reviews online and ended up choosing Rust Oleum Chalked at Home Depot.
The one item that I did spend a little more money on was a quality brush. In my research, I learned that a good quality brush will help make sure you can get a smooth coat. I used the Behr Chalk Decorative oval brush.
Getting Started
I started by removing the hardware from the pieces I was painting. Once the hardware was removed, I began sanding. The directions on the paint say that you don’t need to sand the pieces, but I did it very lightly to remove some of the glossy finish with a small hand sander. If you decide to sand, be sure to do this in a well ventilated area.
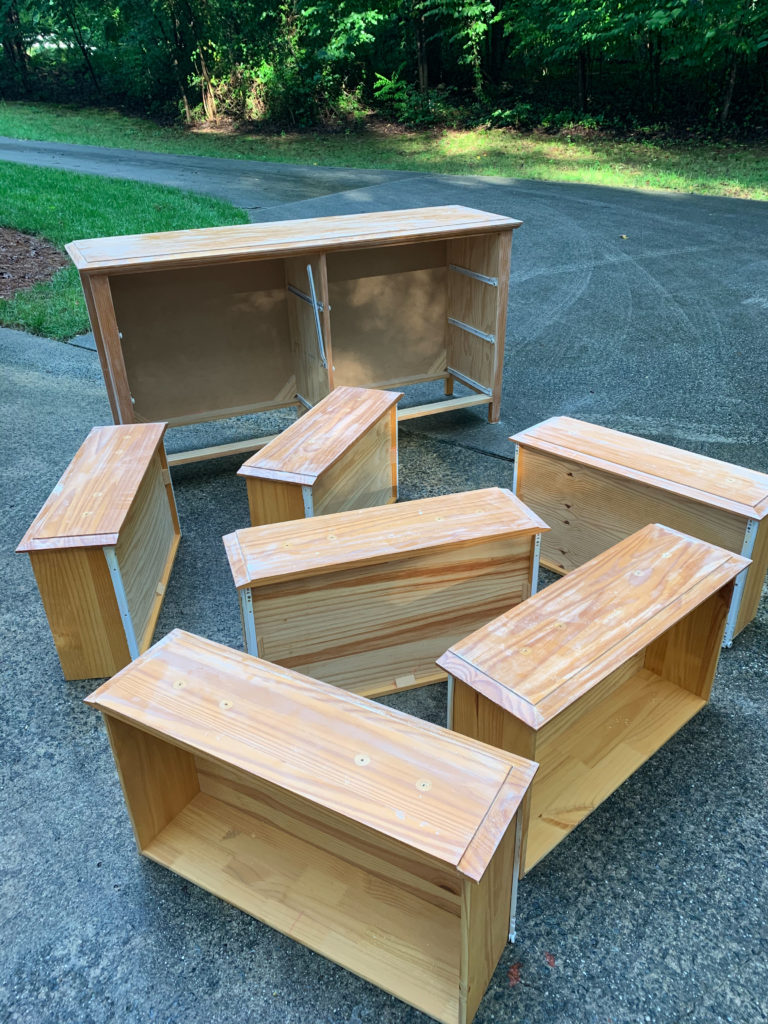
Once I was finished sanding, I wiped off the pieces to get rid of any extra dust. Now, I was ready to paint!
Time to Paint!
I found that long brush strokes helped make the pieces look very smooth. When I say long strokes, I mean go the entire width without stopping! For each nightstand, I painted two coats. The dresser would’ve been fine with two, but I felt like three would achieve the look I was going for. If I wanted a more distressed look, I would’ve stopped at two coats.
Between each coat, I let the paint dry for 30 minutes to an hour. That is a huge plus to the chalk paint – it dries so quickly! Once complete, I installed new hardware and put the pieces back in the guest room.
Bonus: One can of paint lasted through ALL three pieces!
Voila!
I liked a clean finish for these pieces, so I did not do any additional sanding or waxing after I was finished with the paint. If you want a more distressed look, I would recommend doing both of those additional steps.
We love the facelift these pieces got for under $60!
If you have any questions or want to share ideas of your own, let me know in the comments below!

P.S. – Yes, I know we still need wall art and decor in this room 🙂

Tags : chalk paint, DIY, home decor, home improvement, home makeover, interior decor, paint
